


Use the "My Account" page on Learning Lodge™ to manage your VTech® toy parent account and child profiles.
Go to the My Account page.
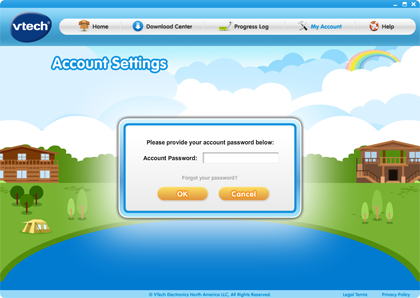
You will need to enter your password to log into your account.
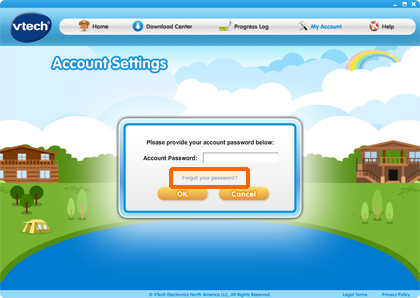
If you have forgotten your password, you can click the "Forgot Your Password?" link here.
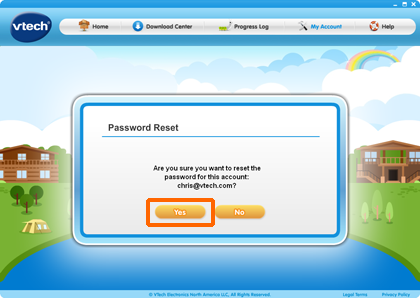
Click "Yes" to confirm that you want to reset your password, and a new password will be sent to the e-mail address that the parent account is registered with.
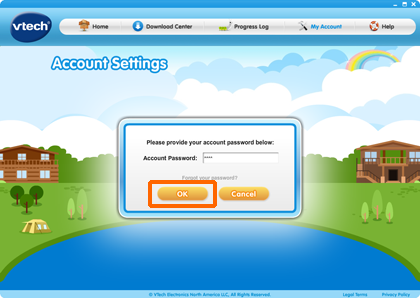
Once you have received your new password, enter it here and click "OK."
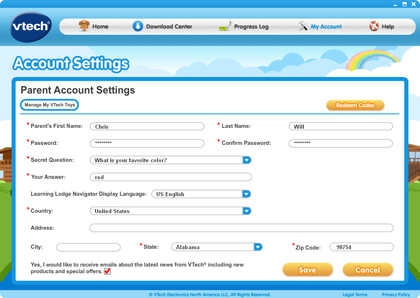
Now, you are in the Parent Account page.
Here, you can change your name, password, secret question, display language and country.
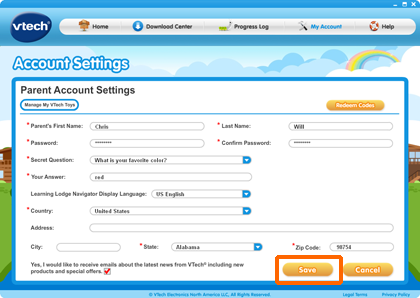
Click "Save" to save your changes.
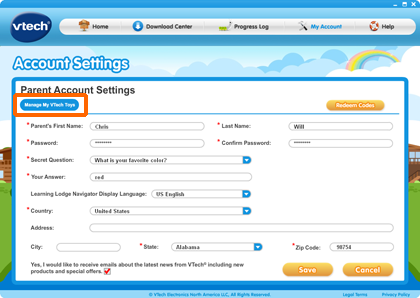
You can also manage your VTech® toys and child profile settings here. Just click the "Manage My VTech Toys" button.
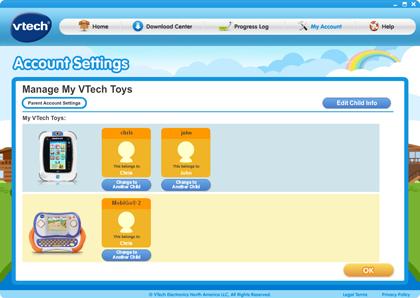
This is the "Manage My VTech Toys" page.
All of the VTech® toys that you have registered on Learning Lodge™ will be listed here. You will be able to see the child profiles for each toy also.
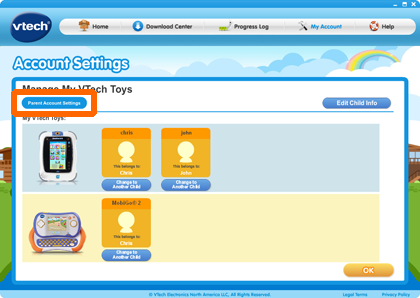
You can always click the "Parent Account Settings" button to go back to the Parent Account page.
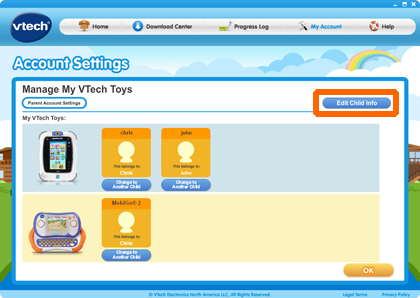
See the "Edit Child Info" button here? You can change your child's info by clicking that.
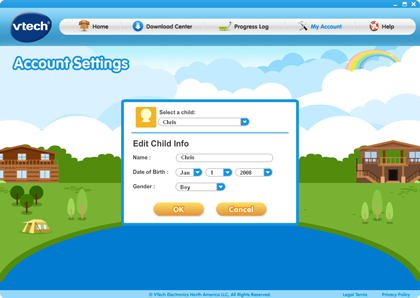
Select the child account you want to make changes to, change the info,
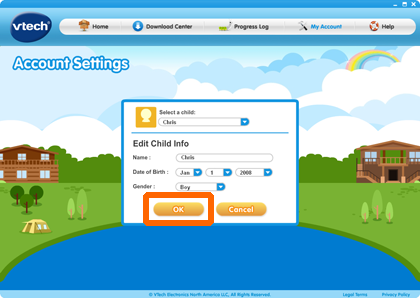
and click "OK."
The changes will be saved, and you will be redirected back to the "Manage My VTech® Toys" page.
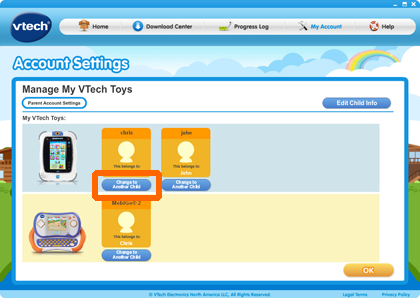
Under each profile, there is a "Change to Another Child" button. You can use it to change the child profile that a toy is linked to. Just click the "Change to Another Child" button ...
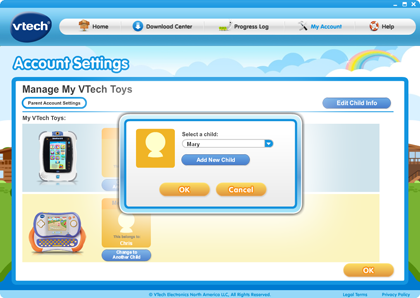
And you will see a pop-up menu. You can reassign the toy to another child profile. Or you can create a new child profile.
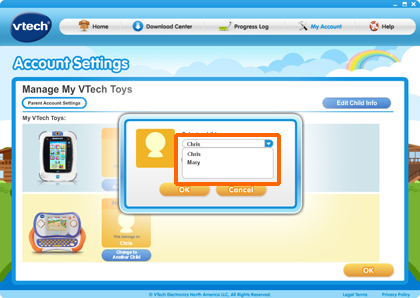
This example shows a change to another existing child profile.
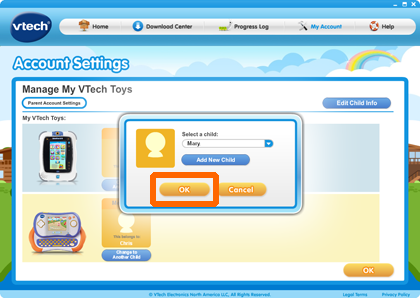
Click "OK."
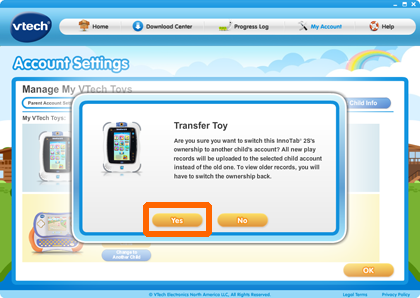
Click "Yes."
Confirm it.
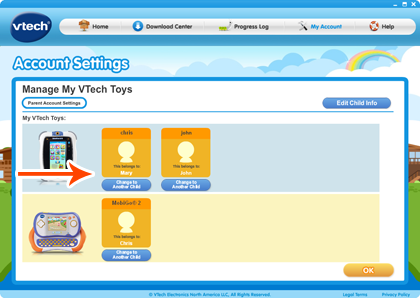
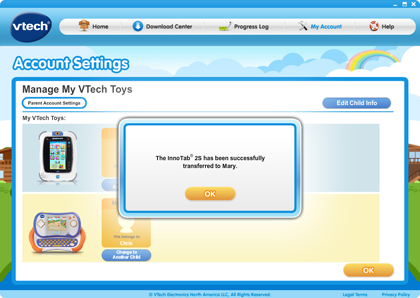
That child account link has changed.
This example will create a new child profile. Just click on the "Change to Another Child" button to start.
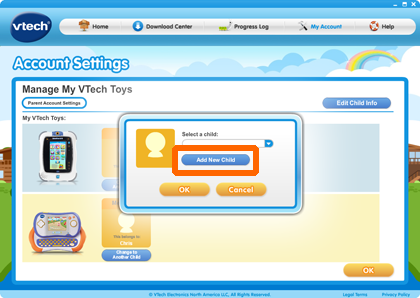
Click the "Add New Child" button.

You will be asked to provide your child's info, like name, date of birth and gender.
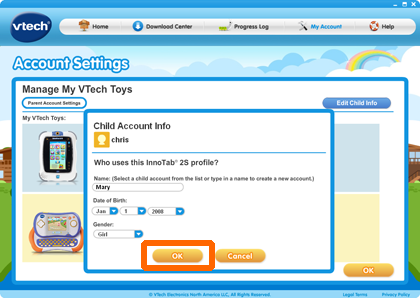
Click "OK."
A new child account will be created and assigned to the toy.